
The Essentials at a Glance
|
Item |
Why It Matters |
|
Navigation (Map, Compass, or GPS) |
Helps you stay on route |
|
Sun protection |
Protects your skin and eyes |
|
Avoid painful friction, blisters, and joint fatigue |
|
|
Headlamp |
Helps you see after dark |
|
First aid kit |
Handles minor injuries |
|
Fire starter |
Starts an emergency fire |
|
Repair kit & pocket knife |
Fixes damaged gear |
|
Snacks |
Keeps your energy up |
|
Water |
Prevents dehydration |
|
Emergency shelter (bivy or space blanket) |
Protects you during unexpected delays |
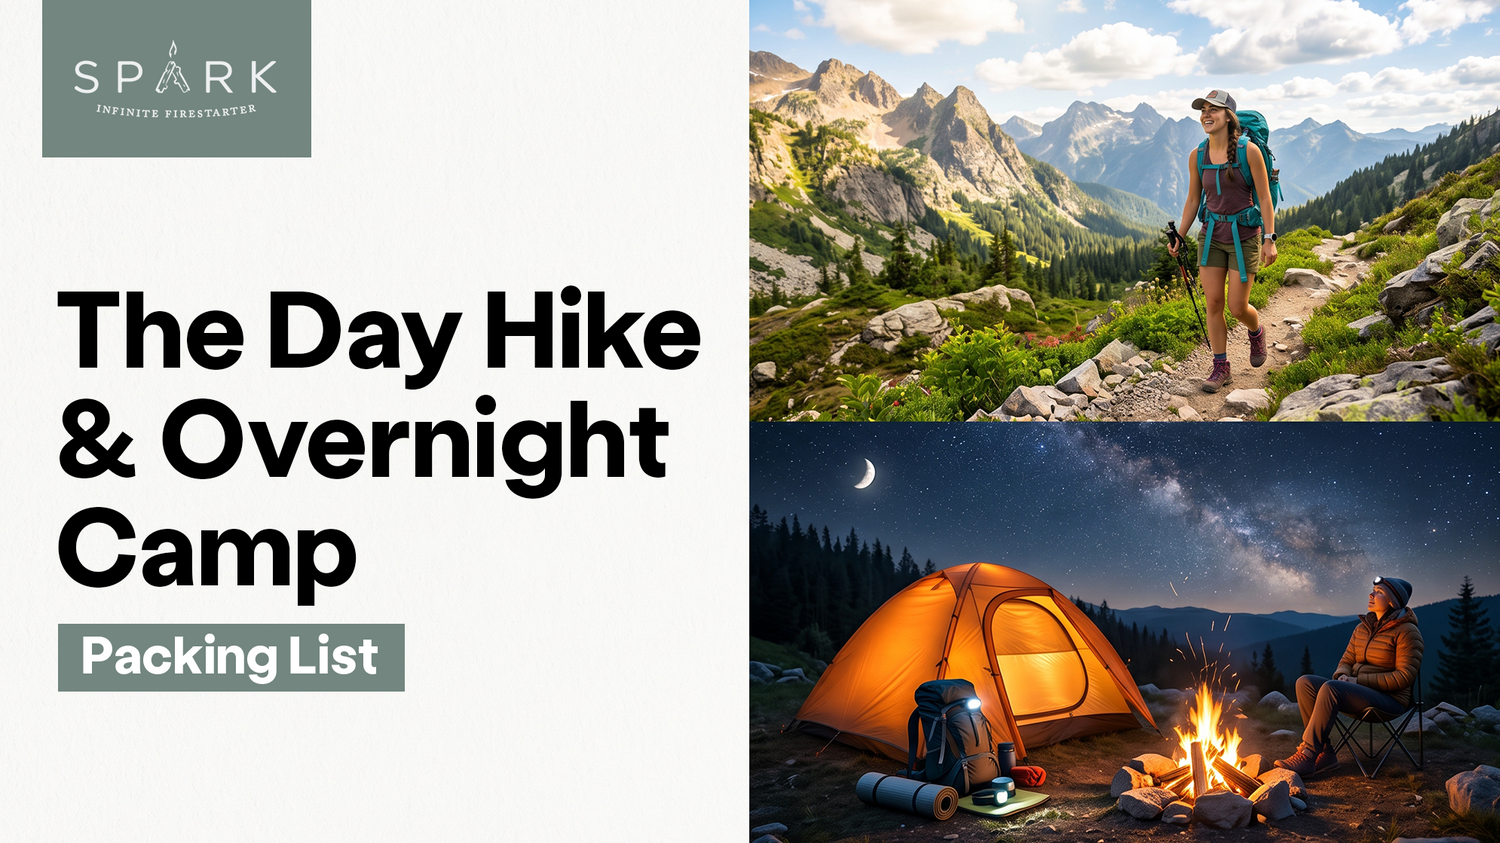
This guide covers everything you need for a day hike or overnight camping trip. You'll learn which items to pack and which to leave behind. It'll help you figure out how much water and food you need, choose the right backpack and insoles, and gather the essentials for a campfire.
Want more? Download our printable checklist. It includes packing lists, campfire planning, safety checks, trip notes, campground recommendations, and other trip must-haves.

The Ten Essentials, Explained
The Ten Essentials were created by The Mountaineers and formally introduced in the 1974 edition of Mountaineering: The Freedom of the Hills. They answer two simple questions:
- Can you handle an emergency?
- Can you safely spend an unexpected night outside?
Here's what each essential does and why it belongs in your pack.
1. Navigation
Carry a map and compass, even if you use GPS. Phones break, batteries die, and cell service disappears in the backcountry. Your backup is knowing how to use physical navigation tools.
2. Sun Protection
Pack sunscreen, sunglasses, and a hat. UV rays can damage your skin and eyes even on cloudy days. They become even stronger at higher elevations and in snowy areas.
3. Insulation
Insulation simply means extra clothing for changing conditions. Skip cotton because it stays wet and pulls heat away from your body. Instead, pack synthetic or wool layers. They keep you warm even when damp.
4. Illumination
A hike can take longer than planned, so always carry a headlamp with spare batteries. It keeps your hands free and makes hiking after sunset safer.
5. First Aid
A compact first aid kit helps you treat blisters, cuts, sprains, and other small problems before they get worse. Pack personal medications, blister treatment, and pain relievers.
6. Fire
Fire provides emergency warmth, light, and a way to signal for help if you're stranded. Pack a butane lighter or waterproof matches. Wet wood is hard to ignite on its own, so bring a reliable fire starter.

7. Repair Kit and Tools
A multitool helps with quick repairs. Duct tape, cord, and zip ties keep damaged gear usable for the rest of your hike.
8. Nutrition
Bring more food than you think you'll need. Pack snacks with carbohydrates for quick energy, plus protein and healthy fats to keep you going longer. Choose foods that need little or no cooking.
9. Hydration
Carry enough water for your hike and a way to purify more if needed. Pack a filter or water treatment tablets. Use them according to their instructions to treat water from streams and lakes.
10. Emergency Shelter
An emergency shelter could be a lightweight bivy, tarp, or blanket. You may never need it. But if bad weather, an injury, or a wrong turn keeps you out overnight, you'll be glad it's in your pack.
What to Wear Hiking
Wear clothes that keep you comfortable when the weather changes. Dress in layers so you can easily add or remove them as your body warms up or cools down.
The Three-Layer System
Every layer has one purpose. The base layer moves sweat away from your skin, the mid layer traps body heat, and the outer shell blocks rain and wind.
Skip cotton whenever possible. It absorbs sweat, stays wet, and can leave you feeling cold. Choose merino wool, polyester, or nylon. They wick moisture and dry faster.
What to Wear by Temperature
|
Temperature |
Base Layer |
Mid Layer |
Outer Shell |
Extras |
|
30 to 40°F |
Heavyweight merino wool or synthetic thermals |
Thick fleece or packable down puffy jacket |
Waterproof, windproof hard shell jacket |
Heavy wool socks, beanie, thermal gloves, neck gaiter |
|
40 to 50°F |
Midweight merino or synthetic long-sleeve shirt |
Light fleece pullover or insulated vest |
Wind-resistant or breathable soft shell |
Midweight wool socks, light gloves, ear warmer band |
|
50 to 60°F |
Lightweight moisture-wicking long- or short-sleeve tee |
Light wind shirt or packed fleece vest (optional) |
Packable rain jacket |
Lightweight synthetic socks, baseball cap or sun hat |
|
60 to 70°F |
Breathable synthetic T-shirt or tank top |
None while hiking |
Lightweight rain shell (packed) |
Sun hat, polarized sunglasses, anti-blister socks |
|
70°F+ |
Ultra-light, loose UPF-rated sun hoody or short-sleeve tee |
None |
None |
Wide-brim sun hat, ventilated socks, cooling neck gaiter |
Footwear
Wear trail runners on smooth, well-maintained trails. Choose hiking shoes for rocky or uneven terrain. Choose hiking boots for long hikes, rough trails, or heavier loads because they provide more support and protection.
Choose a waterproof pair only if you'll hike through rain, mud, or wet grass.
Socks
Choose lightweight merino socks for warm weather and thicker merino socks when temperatures drop. Merino wicks moisture, dries quickly, and helps prevent blisters. For long hikes, wear liner socks if you're prone to blisters. Always pack a spare pair.
Insoles and Foot Comfort: The Upgrade Most Hikers Skip
Why Stock Insoles Underperform
Most hiking boots come with basic foam insoles designed to fill space rather than provide support. They flatten over time and offer little arch support or heel stability. That can cause your feet to slide inside the boot, leading to fatigue and hot spots.
What an Aftermarket Insole Changes
A supportive insole keeps your foot stable inside your boot. That reduces rubbing, which helps prevent hot spots and blisters. ALINE Insoles are a great option for hiking. Use the guide below to find the best fit for your next hike.
|
Insole |
Best For |
Why |
|
ALINE Traction |
Hiking, trekking, trail running |
Added grip, stability, and support during high-impact activities |
|
ALINE Climate |
Hiking in extreme hot or cold weather |
Helps regulate foot temperature while providing support and shock absorption |
How to Swap Them
Remove the stock insole before installing the new one. Use it as a trim guide if needed, then re-lace your boots because the fit may change slightly. Take a short walk before your hike to make sure everything feels comfortable.
If you're buying new boots, don't miss our guide How to Break In Hiking Boots.
How Much Water to Bring
Carry about 500 mL (17 oz) of water for every hour of moderate hiking. Bring more in hot weather, at higher elevations, or on steep trails. For a typical 4- to 6-hour day hike, that's about 2 to 3 liters.
Choose the carrying system that fits your hike. Water bottles are durable, while hydration bladders make it easier to sip while walking. Pack a water filter or purification tablets if you plan to refill from streams or lakes.
Don't wait until you're thirsty. Drink small sips throughout the day and pack electrolytes for long or hot-weather hikes.
Hiking Snacks and Food
What Makes a Good Trail Snack
Choose lightweight snacks that give you plenty of energy. Aim for foods with at least 100 calories per ounce and a mix of carbohydrates, protein, and healthy fats. The best trail snacks need little or no prep and won't melt or get crushed easily.
15 Hiking Snacks That Actually Hold Up
|
Approx. Calories |
Best For |
|
|
Trail mix |
170/oz |
High energy |
|
Beef jerky |
80/oz |
High protein, no-melt |
|
Meat sticks |
90/stick |
High protein, kid-friendly, no-melt |
|
Roasted edamame |
130/oz |
High protein, vegan, no-melt |
|
Mixed nuts |
170/oz |
High energy, vegan, no-melt |
|
Pumpkin seeds |
160/oz |
High protein, vegan, no-melt |
|
Dried mango |
90/oz |
Vegan |
|
Banana chips |
150/oz |
Vegan, kid-friendly |
|
Nut butter packets |
180/packet |
High protein |
|
Tuna pouch |
100/pouch |
High protein, no-melt |
|
Energy bar |
200/bar |
Grab-and-go |
|
Hard cheese |
110/oz |
High protein |
|
Crackers |
120/oz |
Kid-friendly |
|
Apple |
95/apple |
Vegan |
|
Tortilla with peanut butter |
250/serving |
High energy |
How Much Food for a Day Hike
Plan on about 2,500 to 4,000 calories per day, depending on the length and difficulty of your hike. Short, easy hikes need less food, while steep climbs and longer distances burn more energy. Bring a little extra in case your hike takes longer than expected, but avoid overpacking.
If You're Cooking at Camp
A camp stove provides instant, adjustable heat, making it the better choice for boiling water and preparing quick meals. A campfire takes more time but adds smoky flavor that's hard to beat.
Don't cook over tall flames. Let your fire burn for 30 to 45 minutes until you have a bed of glowing coals. For more fire-building tips, read our Campfire Guide.
What Size Backpack Do You Need?
|
Trip Type |
Recommended Size |
|
Short day hike (2 to 4 hours) |
10 to 20L |
|
Full-day hike |
20 to 30L |
|
Overnight hike |
30 to 50L |
Backpack fit is also very important. Measure your torso length, not your height. A properly fitted hip belt shifts weight from your shoulders to your hips.
Pack heavy items close to your spine to keep the load balanced. Store your rain jacket and other frequently used gear near the top so you can grab them without unpacking everything.
Building a Hiking First Aid Kit
Pack a first aid kit that matches your trip. Include supplies for cuts, scrapes, blisters, sprains, and unexpected delays.
- Adhesive bandages and sterile gauze
- Medical tape and antibiotic ointment
- Antiseptic wipes
- Tweezers for splinters and ticks
- Elastic wrap for sprains
- Pain relievers and personal medications
- Emergency blanket
- Disposable gloves
- Leukotape, moleskin, or blister pads
Fire and Camp Setup (The Part Most Checklists Get Wrong)
Why Matches and Lighter Fluid Fail in the Field
Matches only work well in calm, dry weather. Wind can blow out their small flame before your fire catches. Moisture can also soak the match head or strike strip, making it difficult to light.
Lighter fluid creates a fast flame but adds extra weight to your pack. It can also leak, evaporate, and produce chemical fumes or dangerous flare-ups.
How Much Firewood Do You Actually Need
An average campfire burns through about one bundle of hardwood per hour. Softer woods burn much faster, so plan to carry extra if that's all you have.
|
Wood Type |
Approx. Burn Time (Per 1 ft³ Bundle) |
Bundles for an Evening Campfire |
Bundles for Camp Cooking |
|
Slat wood (thin pieces) |
30 minutes |
4 |
2 to 3 |
|
Split wood |
1 hour |
3 |
1 to 2 |
|
Square wood |
1.5 hours |
2 to 3 |
1 to 2 |
Building a Fire That Stays Lit
Build your fire in stages. Start with tinder, add kindling, then feed it with firewood as the flames grow. Adding large logs too early smothers the flame.
Dry tinder and kindling are not always easy to find after rain. Spark Firestarter lights quickly in almost any weather and can ignite damp wood, even when kindling is limited.
Can't keep a fire going? Learn the most common mistakes and how to avoid them.
If You'd Rather Not Carry Commercial Starters
You can make fire starters at home with simple supplies. Petroleum jelly cotton balls, wax-coated dryer lint, wax-dipped pinecones, and waxed cotton string all work well. Pick a waterproof option for wet weather and keep every starter sealed until you need it.
Want step-by-step instructions? Read DIY Fire Starters: 10 Homemade Methods That Actually Work.
Fire Restrictions and Leave No Trace
Always check local fire restrictions before your trip. Burn bans change with weather and wildfire risk, and the rules vary by location. Check your local fire department or official government websites before lighting any fire.
Use existing fire rings whenever possible. Never leave a fire unattended. When you're done, pour water over the fire, stir the ashes, and repeat until everything feels cool to the touch. Pack out your trash and leave the campsite cleaner than you found it.
For a complete walkthrough, read How to Safely Extinguish a Fire.
Overnight Add-Ons
- Sleep system: Tent, sleeping bag, and sleeping pad.
- Warm layers: Fleece or down jacket, beanie, and dry socks for colder nights.
- Camp kitchen: Stove, fuel, pot, mug, spork, and lightweight meals.
- Headlamp: Bring a fully charged headlamp and spare batteries or a power bank.
- Extra fire-starting supplies: Pack backup fuel and waterproof fire starters.
- Trash bags: Pack out every scrap of waste.
What to Leave at Home
- Jeans and cotton clothing: They trap moisture, dry slowly, and can cause chafing.
- Heavy sweaters: Lightweight layers keep you warmer without the bulk.
- Oversized knives and multi-tools: A small pocket knife handles most trail tasks.
- Cast iron cookware: Save it for car camping. Carry lightweight cookware instead.
- Too much food: Pack enough for your trip, not three days' worth for one night.
- Full-size toiletries: Bring travel-size bottles to save space and weight.
24 Hours Before You Go
- Check fire restrictions for your exact destination.
- Check the weather forecast, including overnight lows.
- Tell someone where you're going and when you'll be back.
- Download offline maps in case you lose signal.
- Charge and test your headlamp.
- Take a short walk in the boots, socks, and insoles you'll wear on the trail.
Good Luck on Your Adventure
Pack smart, wear the right layers, stay hydrated, fuel your body, build safe fires, and leave every campsite better than you found it.
Don't rely on memory. Use this printable camping companion to track your packing, campfire setup, and safety checks.
The Final Stretch
What are the 10 essentials for hiking?
- Navigation (map, compass, or GPS)
- Sun protection
- Extra clothing
- Headlamp
- First aid kit
- Fire starter
- Repair kit and knife
- Extra food
- Extra water
- Emergency shelter
What should a beginner bring on a day hike?
A beginner should pack only the essentials for comfort and safety: water, high-energy snacks, a map or GPS, a first-aid kit, a headlamp, a rain jacket, sun protection, and an extra layer. Choose comfortable footwear, and carry everything in a 10- to 30-liter backpack that fits your trip.
How much water should I bring on a hike?
Bring about 0.5 liters of water per hour of moderate hiking. Carry more in hot weather, at high altitude, or on steep trails. If reliable water sources are available, pack a lightweight filter or purification tablets instead of carrying an extra supply.
What should I wear on a hike in 60-degree weather?
Wear lightweight layers in 60°F weather so you can adjust as conditions change. A moisture-wicking base layer, a light fleece, and a packable rain jacket work well. Pair them with hiking pants or shorts, merino wool socks, and trail shoes or hiking boots suited to the terrain.
What size backpack do I need for a day hike?
A 10- to 20-liter backpack works well for short hikes, while a 20- to 30-liter pack is better for full-day trips. Choose a pack that matches your torso length, and make sure the hip belt carries most of the weight, not your shoulders.
Are hiking insoles worth it?
Yes, hiking insoles can improve comfort on long hikes. Supportive insoles help stabilize your foot, reduce movement inside the boot, and minimize rubbing that causes hot spots and blisters. Choose an insole that matches your footwear, arch shape, and the type of hiking you do.
Can you have a campfire where you're hiking?
Only where fires are allowed. Check local fire restrictions before your trip and use existing fire rings whenever possible. During burn bans, campfires may be prohibited. Always follow local regulations and ensure your fire is fully extinguished before leaving.
What should you not bring on a hike?
Leave behind anything that adds weight without adding value. Avoid:
- Jeans and cotton clothing
- Full-size toiletries
- Heavy books or tablets
- Oversized knives or multi-tools
- Cast iron cookware on hike-in trips
-
Excess food or water beyond your planned and emergency needs